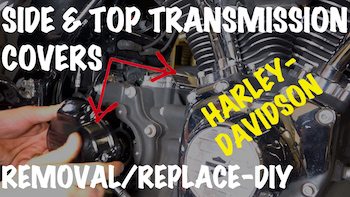
 Video-In this free DIY video we show you how to remove both your stock Harley side & top transmission covers and replace them. We did this because we were tricking a Street Glide out with all black parts.
Note for side cover gaskets: For 2013 and older models, make sure you have a new side cover gasket ready to go and some oil/fluid to replace what you lose when removing the side transmission cover. 2014 & newer Harley Davidson's have hydraulic clutches, so this side transmission cover is just for looks and you'll lose no oil when removing it. There is just a bleeder valve for the hydraulic clutch line hidden behind it.
Note for top cover gasket: We suggest having a new gasket ready to go and replacing it when installing the new top transmission cover.
Save yourself a ton of money by not having to take your Harley to the dealership to have these types of projects done. You can do this right in your very own shop or garage and right on the kickstand. Plus, have the absolute satisfaction of wrenching on your own Harley!
==> CHECK OUT ALL OUR FREE YOUTUBE VIDEOS HERE
==> CHECK OUT ALL OUR FOR PURCHASE VIDEOS HERE
If you appreciate the content we put out and want to make sure it keeps on coming your way then become a Patron too! There are benefits and there is no risk.
If you appreciate this free video and information then please purchase any products using our below affiliate links.
(no additional cost to you, but it helps support us).
Revzilla | J&P Cycles | Amazon
Join the Free Email Club!
If you appreciate this free information make sure to join the thousands of law abiding bikers that have already joined the free Email Club! You will be notified of new useful motorcycle content and techniques as we put them out. Join the Community now!


Leave a Reply